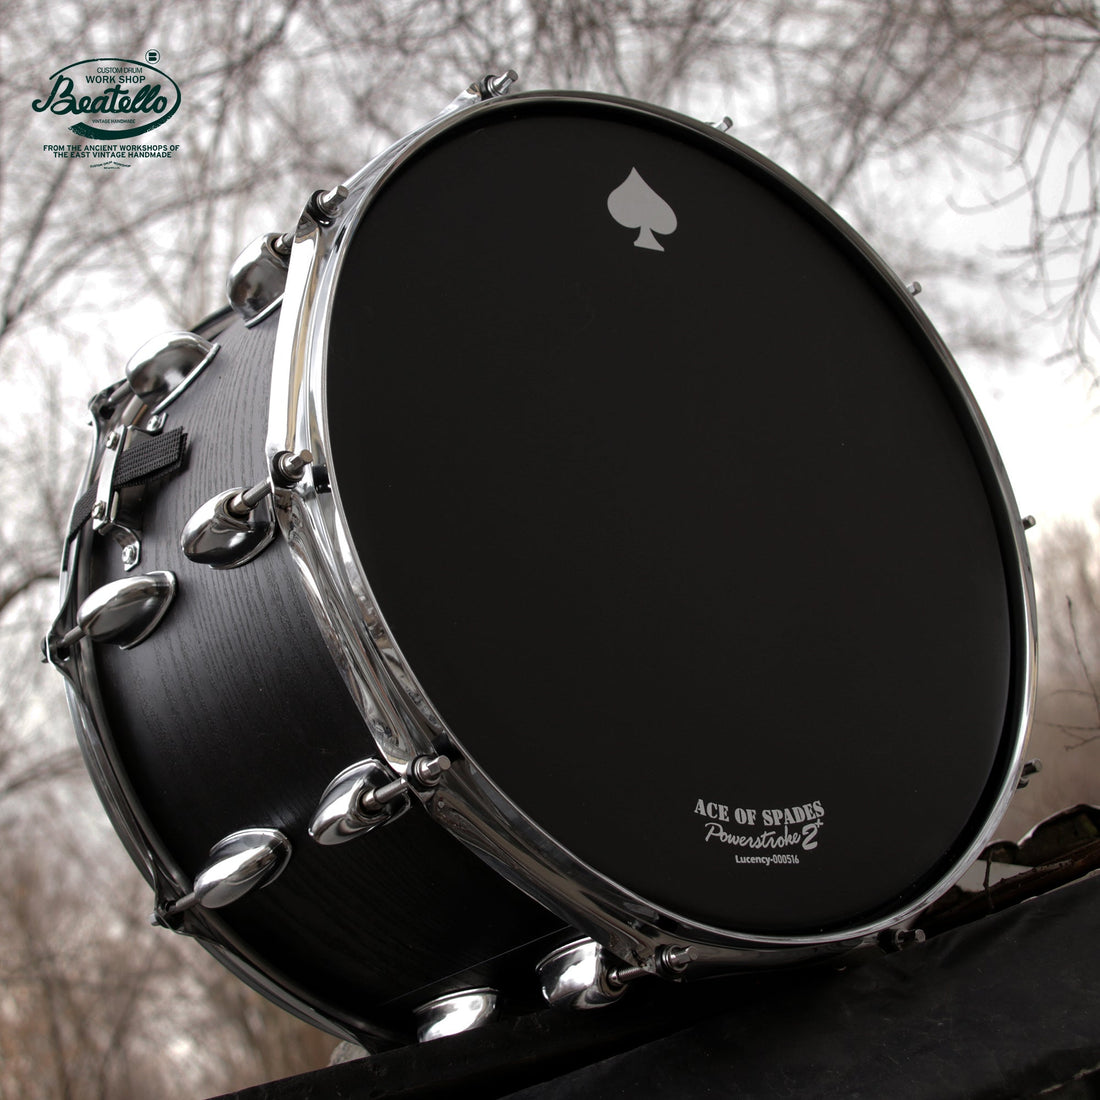
How to Change Your Drum Heads (Step-by-Step)

Changing drum heads is a straightforward process, but it requires patience and a bit of finesse to get a great sound. Here's a general guide:
1.Remove the Old Head:
Place the drum on a soft, flat surface.
Use a drum key to loosen all the tension rods (the screws holding the hoop) in a star pattern (loosening opposite screws to release tension evenly).
Once all rods are loose, remove the hoop and lift off the old drum head.
2.Clean the Drum Shell:
This is a crucial step! Use a clean microfiber cloth to wipe down the bearing edge (the rim of the drum shell where the head sits) and the inside of the drum shell. Remove any dust or residue. A clean bearing edge ensures the new head seats properly.
Optional: Some drummers apply a thin layer of paraffin wax or a specific lubricant to the bearing edge. This helps the head "float" and seat more smoothly, aiding in tuning.
3.Place the New Head:
Carefully place the new drum head onto the drum shell, ensuring it's centered.
Place the hoop back on top, aligning its holes with the lugs (the metal casing on the drum shell where the tension rods go).
Insert all the tension rods into the lugs and finger-tighten them until they just make contact with the hoop.
4.Seat the Head (Pre-tensioning):
With all rods finger-tight, apply firm, even pressure to the center of the drum head with the palm of your hand. You might hear some popping or cracking sounds – this is normal and means the head is stretching and seating properly into the bearing edge. Rotate the drum and repeat this a few times for even seating.
5.Initial Tuning (Finger Tightening & Quarter Turns):
Starting with a tension rod, gently finger-tighten it until it's snug.
Move to the tension rod directly opposite (in a star pattern) and finger-tighten. Continue around the drum in this star pattern until all rods are finger-tight.
Now, using your drum key, turn each tension rod a quarter turn (90 degrees) at a time, following the same star pattern. Do this for 2-3 rounds until the head starts to feel taut.
6.Final Tuning:
Tap the drum head gently with your finger or a drumstick about an inch or two in front of each tension rod. Listen for the pitch.
Adjust the tension rods in small increments (eighth or quarter turns) to even out the pitch around the drum. The goal is for each lug point to have the same pitch.
Once the pitches are even, strike the center of the drum to hear the overall sound. Make small, fine adjustments until you reach your desired pitch and resonance.
Pro Tip: It's generally easier to tune up to a desired pitch than to tune down. If a lug is too tight, loosen it past the desired pitch and then tune back up to it.
7.Snare Drum Specifics:
When changing the bottom (resonant) head on a snare drum, remember it's much thinner. Don't overtighten it.
Once both heads are on and tuned, you'll need to reattach and adjust your snare wires. Turn the snares off, then gently tighten the strainer until the wires are just snug against the head. Engage the strainer and fine-tune for the desired snare buzz.
Frequently Asked Questions
Here are answers to some common questions about changing drum heads:
Q1: How often should I change my drum heads?
A1: It really depends on how often and how hard you play! For active drummers who play frequently or gig, batter heads might need changing every few weeks to a few months. Resonant (bottom) heads don't need changing as often, perhaps every few batter head changes or at least once a year.
Q2: Can I just change one drum head at a time, or should I change them all at once?
A2: You absolutely can change one drum head at a time! If only one head is showing significant wear or if you're experimenting with different sounds for a specific drum, changing just that one is fine. However, for the most consistent and balanced sound across your entire kit, many drummers prefer to change all their batter heads (or even all batter and resonant heads) around the same time. This ensures uniform tension and resonance across the whole setup.
Q3: Do I need special tools to change drum heads?
A3: The primary tool you'll need is a drum key. Most drum kits come with one, but having a spare is always a good idea. Beyond that, a clean microfiber cloth is useful for wiping down the bearing edge of your drum shell. Some drummers also use a small amount of lubricant (like paraffin wax or Vaseline) on the bearing edge to help the new head seat smoothly, but this isn't strictly necessary for every change.
