The Beatello Guide to Drum Kit Setup: A Step-by-Step Guide for Optimal Performance
You’ve got the gear, but a great drum kit is only as good as its setup. Proper drum kit placement and ergonomics are the keys to unlocking your full potential, preventing injury, and finding your signature sound. At Beatello, we believe every drummer deserves a setup that feels like an extension of themselves.
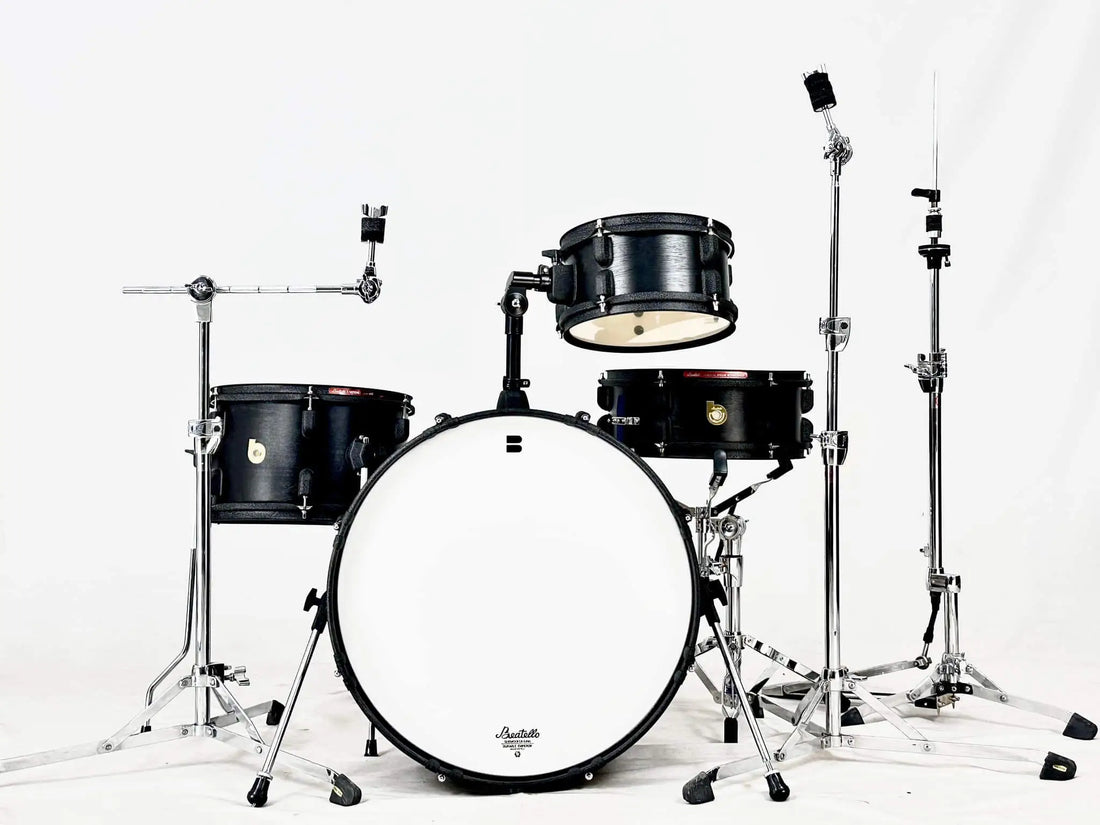
Follow this comprehensive guide to build your perfect drumming sanctuary from the ground up.
Step 1: Start with the Bass Drum
Begin your setup by placing the bass drum on the floor. Adjust the bass drum legs so that the outer hoop is elevated about 1 to 2 inches off the ground. This provides stability and allows for proper resonance.
Step 2: The Bass Drum Pedal & Beater
Attach your bass drum pedal. First, adjust the beater height so it strikes the exact center of the drumhead, or slightly above it. Hitting different spots can change the sound, so experiment to find the tone you want.
Step 3: Beater Angle & Tension
Next, adjust the beater’s backward swing angle. When you release your foot from the pedal, the beater should not touch your pant leg. This ensures a free and natural movement.
Step 4: Finding Your Pedal Tension
Now, it’s time to dial in the pedal’s spring tension. This is a matter of personal preference. A loose spring requires less effort but may affect speed, while a tight spring can tire your foot quickly. Experiment until you find the perfect tension that balances speed, power, and comfort.
Step 5: Position the Drum Throne
Your drum throne's position is crucial. A good starting point for the seat height is when your knees are slightly lower than your hips with your heels raised. The goal is to find a height that allows you to play with power and speed without straining your legs.
Step 6: Adjust Your Snare Drum
The snare drum is the heart of your kit. Adjust its height so that when your hands are relaxed and resting, your drumsticks land right in the center of the snare head. This ensures you can play with ease and accuracy.
Step 7: Set Up Your Hi-Hat
Once your snare is in place, position the hi-hat. Adjust its height so that your right-hand stick can comfortably rest flat on the edge when you play. If you need to hit the top with the stick tip, a slight hand raise should be all it takes. Keep a 2-finger gap between the two hi-hat cymbals and set the stand height about 6 to 8 inches higher than the snare drum.
Step 8: Positioning the Tom Toms
Now for the toms. Position them so that when you're seated, you can see the center of each drumhead. You can check the spacing by holding your drumsticks and rotating your waist—the sticks should fall naturally onto the center of each tom.
Step 9: Find the Right Tom Angle
The angle of your toms is essential. Adjust them so that when your sticks strike the drumhead naturally, they are about one inch from the drum's rim. An angle that is too steep can limit your power and cause premature drumhead damage, while a too-flat angle can lead to unwanted rim shots.
Step 10: Finalizing Your Cymbals
Finally, set up your cymbals. The outer edges should not obstruct your toms, ensuring you have clear, comfortable striking zones. Adjust the height based on your arm length and preference, but remember, a beautiful setup doesn't require a mountain of cymbals. Visual appeal should never compromise your ability to play effortlessly.
A perfect setup is a personal journey. Take your time, make small adjustments, and listen to your body. Once you've found a configuration that works for you, you'll be amazed at the difference it makes in your playing.
Looking for the perfect gear to build your ideal setup? Explore Beatello's full range of drums, cymbals, and hardware to find the perfect fit for your style.